
How to Run Facebook Ads for Dropshipping: A Beginner's Walkthrough
How-to · Facebook ads for beginners
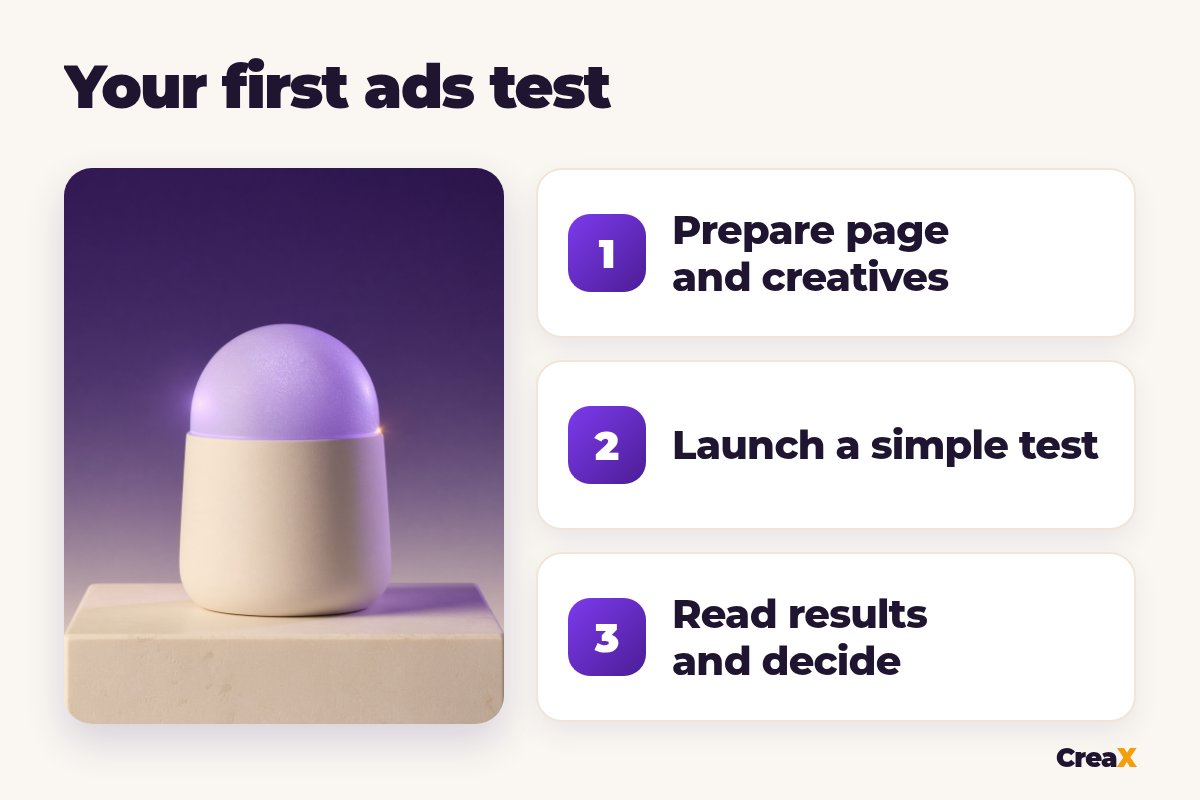
Learning how to run Facebook ads for dropshipping is less about secret settings and more about a simple, repeatable test. This walkthrough takes you from an empty ad account to your first campaign: prepare the page and creatives, set up Meta's tools, launch a small test, and read the results without guessing.
By the CreaX team
Key takeaways
- ✓Get the basics right before you spend: a product page that works on mobile, several different creatives and a budget you can afford to lose while you learn.
- ✓Set up your Facebook Page, business portfolio, ad account and Meta Pixel / Conversions API. Tracking is Meta's own setup, done in Events Manager or through your store platform's Meta integration.
- ✓Start with a Sales campaign optimised for purchases, broad targeting and a handful of creatives, then leave it alone long enough to learn.
- ✓Decide with a rule you wrote before launch: know your break-even numbers, then keep, change or kill each creative based on them.
In this guide
OutcomeWhat you'll have at the end
By the end of this guide you will have:
- A ready test kit: a product page that loads on mobile and a set of different ad creatives for one product.
- A working Meta setup: Facebook Page, business portfolio, ad account with a payment method, and purchase tracking you have tested.
- One live test campaign with a clear budget and a stop rule, so you know in advance what “working” means.
This is a first test, not a scaling plan. The goal is to learn whether a product and its angles can sell profitably, quickly and cheaply. Once you have a winner, scaling is a different job.
PrepWhat you need before you start
- A product with real margin. Know your selling price, product cost, shipping and payment fees. If there is little left after costs, ads will struggle to pay for themselves.
- A store or page where people can buy. A Shopify store or any checkout you trust. Ads that send people to a page they can't buy from waste money.
- A personal Facebook profile in good standing. Meta's business tools are managed through real personal accounts.
- A payment method that works for ads in your country.
- Time to watch, not tinker. Plan to check results daily but change things rarely in the first days.
If you don't have a store yet, it's worth reading whether you can run Facebook ads without a website first. For a dropshipping test, a page with a working checkout is almost always the better choice.
Step 1Step 1: Prepare your page and creatives
Your ad's job is to earn the click; your page's job is to earn the sale. Both need to be ready before you open Ads Manager.
The page
- Open it on your phone. The main image, price and buy button should be visible without hunting.
- Use accurate photos and a clear description: what it is, who it is for, what is in the box, shipping time and returns.
- Keep the message consistent with the ad. If the ad promises a quick fix for tangled cables, the page should open on that same benefit.
The creatives
Plan several genuinely different ads, not five copies of the same image. Mix formats (a static image, a short vertical video) and angles (the problem it solves, a demo, a gift idea). Our framework for how many ad creatives to test per product helps you decide how many to start with, and our templates for Facebook ad copy for ecommerce cover the primary text and headline.
Making creatives is often the slowest part. With CreaX, you paste the product link (from AliExpress, Alibaba, Amazon or any product page) or upload an image, and in about 60–120 seconds you get studio ad creatives, UGC-style video ads (18, 30 or 45 seconds) and a publish-ready landing page. Static ads come in sizes such as 1:1, 4:5 and 9:16, which cover Feed, Stories and Reels. CreaX makes the creatives and pages; it is not a tracking or ad-buying tool, so the campaign itself still runs in Meta Ads Manager.
!Keep claims honest
Step 2Step 2: Set up your ad account
Meta's setup has a few pieces. Do them once, carefully, and you won't have to think about them again.
Create a Facebook Page for your store
Create a business portfolio
Create an ad account and add payment
Set up the Meta Pixel and Conversions API
Verify your domain and test events
Don't skip the test purchase check. If purchases aren't tracked, Meta can't optimise for sales and you can't judge results. If your account won't spend once you launch, our guide to why Facebook ads are not spending walks through the usual causes.
Get your test creatives ready in minutes
Paste a product link and get studio ad creatives, UGC-style video ads and a landing page in one pass, then launch them in Ads Manager.
Step 3Step 3: Create a simple test campaign
Keep the first campaign simple. Complexity makes results harder to read, and beginners rarely benefit from it.
- In Ads Manager, click Create and choose the Sales objective.
- Choose a setup. Meta offers an Advantage+ sales campaign with automated audience, placements and budget, or a manual setup where you control more. Either works for a first test; Advantage+ means fewer decisions.
- Set the conversion location to your website, pick your dataset and choose Purchase as the conversion event.
- Set a daily budget you are comfortable losing for about a week. With Advantage+ campaign budget (on by default for Sales), Meta spreads it across ad sets for you.
- Keep targeting broad: your selling country, sensible age limits if the product needs them, and Advantage+ placements. Let the creative do the targeting.
Should you test with one budget across ad sets or a budget per ad set? Our comparison of ABO vs CBO for creative testing explains the trade-off. For most first tests, one campaign with one or two ad sets is enough.
Step 4Step 4: Launch a few creatives
Add your creatives at the ad level. Upload each image or video in the sizes you prepared, write the primary text and headline, and point the website URL to the exact product page.
- Start with a handful of distinct creatives rather than one, so Meta has options and you learn which angle works.
- Use a clear naming pattern (product, angle, format, version) so the results table makes sense later.
- Preview every placement on mobile before you publish: check cropping, captions and that the product is visible.
- Publish, then wait for ad review. Most ads are reviewed quickly, but some take longer.
If an ad is rejected, read the reason in Account Quality before you edit. Our guide to why ads get rejected on Meta and TikTok covers the common causes and fixes.
Step 5Step 5: Read results and decide
Every new ad set goes through a learning phase while Meta figures out who to show it to. Meta's own guidance points to around 50 optimisation events in a 7-day period to exit it, which many small tests won't reach, and that's fine. Avoid big edits during this time, because significant changes can restart learning. Our explainer on the Meta learning phase goes deeper.
Before launch, work out your break-even ROAS (selling price divided by what is left after product, shipping and fees) and your break-even cost per purchase. Our guide to break-even ROAS for dropshipping shows the maths. Then read the results in this order:
| What you see | What it usually means | What to do |
|---|---|---|
| Low click-through rate | The creative or hook isn't stopping the scroll | Test new hooks and angles, not new targeting |
| Good clicks, no add-to-carts | The page or offer isn't convincing | Fix the page: images, price, trust, shipping info |
| Add-to-carts, no purchases | Checkout friction or surprise costs | Check shipping costs, payment options and checkout speed |
| Purchases above break-even | You may have a winner | Keep it running, then add new creative variations |
A simple reading order for a first test. Your own break-even numbers decide what counts as good.
If clicks are the problem, our guide on why your CTR is low helps. If people click but don't buy, start with creative fixes for Facebook ads that are not converting.
Turn your best angle into fresh variations
When one angle works, CreaX can make new ad creatives and UGC-style videos for the same product, so you can keep testing without starting from scratch.
ExampleWorked example
Here's a hypothetical first test to show how the pieces fit. A beginner sells a galaxy star projector at $34.99. Product, shipping and fees come to $14.99, so $20.00 is left per sale.
- Break-even ROAS: 34.99 ÷ 20.00 ≈ 1.75. Below that, each sale loses money.
- Break-even cost per purchase: $20.00. Paying more than that for a sale means a loss.
- Creatives: four ads built from the product link: a 4:5 static on the “cosy bedroom” angle, a 9:16 UGC-style video demo, a 1:1 gift angle, and a second video with a different hook.
- Campaign: one Sales campaign, Purchase as the event, broad targeting in one country, a daily budget the seller can afford for a week.
- Stop rule, written before launch: pause any creative that spends about $20 (the break-even cost per purchase) with no add-to-carts; review the whole test after seven days.
Seven days later, the seller reads the table above. Say the video demo gets the clicks and the purchases while the statics don't. The next step is not a bigger budget straight away, but more variations of the winning angle, then a gradual increase.
AvoidMistakes to avoid
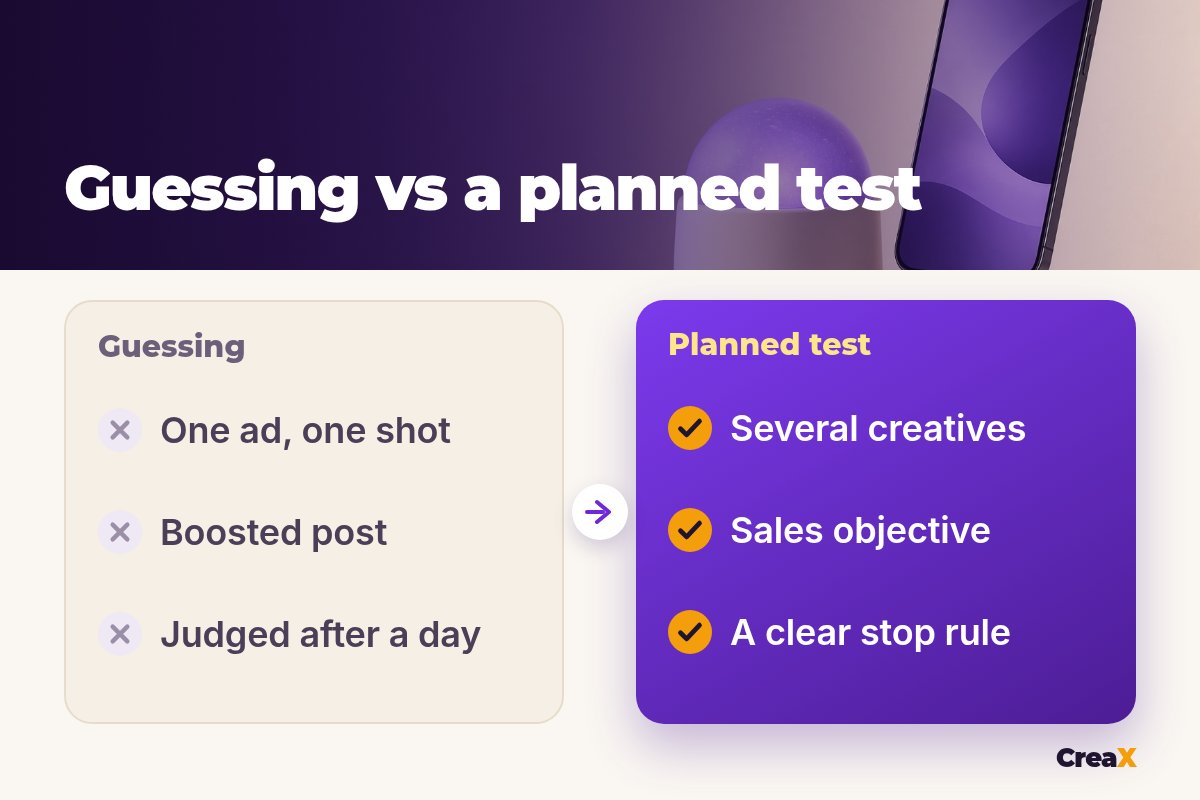
- Boosting a post instead of running a Sales campaign. Boosts are built for engagement, not purchases.
- Launching without tested tracking. No purchase events means no optimisation and no reliable results.
- Testing one creative. One ad tells you about one ad, not about the product.
- Editing every few hours. Constant changes reset learning and make results impossible to read.
- Narrow interest stacking. For most dropshipping tests, broad targeting with strong creative is the simpler start.
- Judging after one day. Give the test time to collect data, inside the budget you agreed with yourself.
To judge whether a product deserves more budget after the test, our guide on how to know a product is a winner lists the signals to look for.
Pre-launchChecklist
Before you click publish
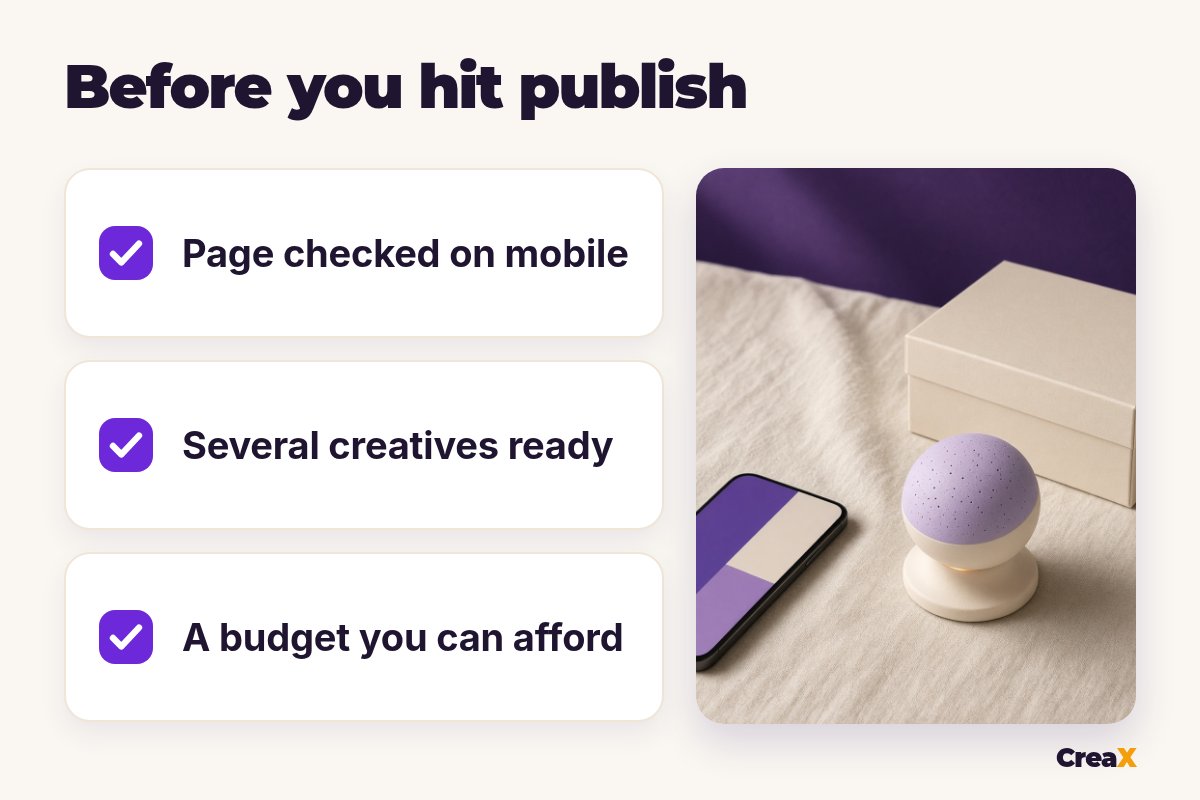
- ✓Product page loads fast on mobile, with accurate photos, price, shipping time and returns
- ✓Several distinct creatives in Feed and vertical sizes, each with its own angle or hook
- ✓Facebook Page, business portfolio and ad account set up, with time zone, currency and payment correct
- ✓Meta Pixel and Conversions API connected through Meta (Events Manager or your store's Meta integration), test purchase confirmed
- ✓Sales campaign with Purchase as the conversion event and broad targeting
- ✓Break-even ROAS, break-even cost per purchase and a written stop rule
- ✓Clear names for every ad so results are easy to read
FAQFrequently asked questions
Q.How much should I spend on my first Facebook ads test?
Q.Do I need the Meta Pixel to run Facebook ads?
Q.Should I use Advantage+ or a manual campaign?
Q.How many creatives should I start with?
Q.Can CreaX run my Facebook ads?
Q.How long before I know if a product works?
Build your first test kit with CreaX
Paste a product link or upload an image and get studio ad creatives, UGC-style video ads and a publish-ready landing page in about 60–120 seconds.
This guide is published by CreaX. Meta's tools, names and settings change often, so check Meta's Business Help Center for the current steps. CreaX makes ad creatives and landing pages; Meta Pixel, Conversions API and campaigns are set up in Meta's own tools.