
How to Shoot Product Photos With Your Phone (Then Turn Them Into Ads)
How to · Product photos
You can take product photos with your phone that look clean and professional, as long as you get the light, the background and the angles right. This guide walks through a simple home setup, the five steps from first shot to final image, and how to turn one good photo into a set of ad creatives without a photoshoot.
Updated October 2026 · By the CreaX team
Key takeaways
- ✓Light matters more than the phone. Soft window light plus a white card as a reflector beats any overhead kitchen lamp.
- ✓Use a plain background (a sheet of paper curved up a wall works), a tripod or a stack of books, and the phone's main 1x lens instead of digital zoom.
- ✓Shoot a consistent set: front, side, back, a detail close-up, scale and the product in use, all in the same light.
- ✓One sharp, true-to-life photo is enough input for CreaX, which turns a product image into studio ad creatives, UGC-style video ads and a landing page in about 60–120 seconds.
In this guide
OutcomeWhat you'll have at the end
By the end of this guide you will have a small, consistent set of product photos shot on your phone, and a clear way to use them:
- A hero image: the product sharp and well lit on a plain background, good enough for a product page or marketplace listing.
- Supporting angles: side, back, a detail close-up and a photo that shows size.
- An in-use shot: the product being used or in its natural setting.
- A set of ad creatives made from your best photo, in the sizes social platforms need.
KitWhat you need before you start
| Item | Why | Cheap option |
|---|---|---|
| Your phone | Any recent phone camera is fine for product photos | The one you have |
| A window with soft daylight | Soft, even light with natural colors | Shoot on a bright, overcast day or away from direct sun |
| A plain background | Keeps attention on the product | A large sheet of white or cream paper curved up a wall |
| A reflector | Fills in shadows on the dark side | White foam board or a sheet of white card |
| Something to hold the phone still | Sharper photos and consistent framing | A small tripod, or a stack of books |
| A soft cloth | Removes dust and fingerprints | A microfiber lens cloth |
★Clean the lens first
Step 1Step 1: Set up light and background
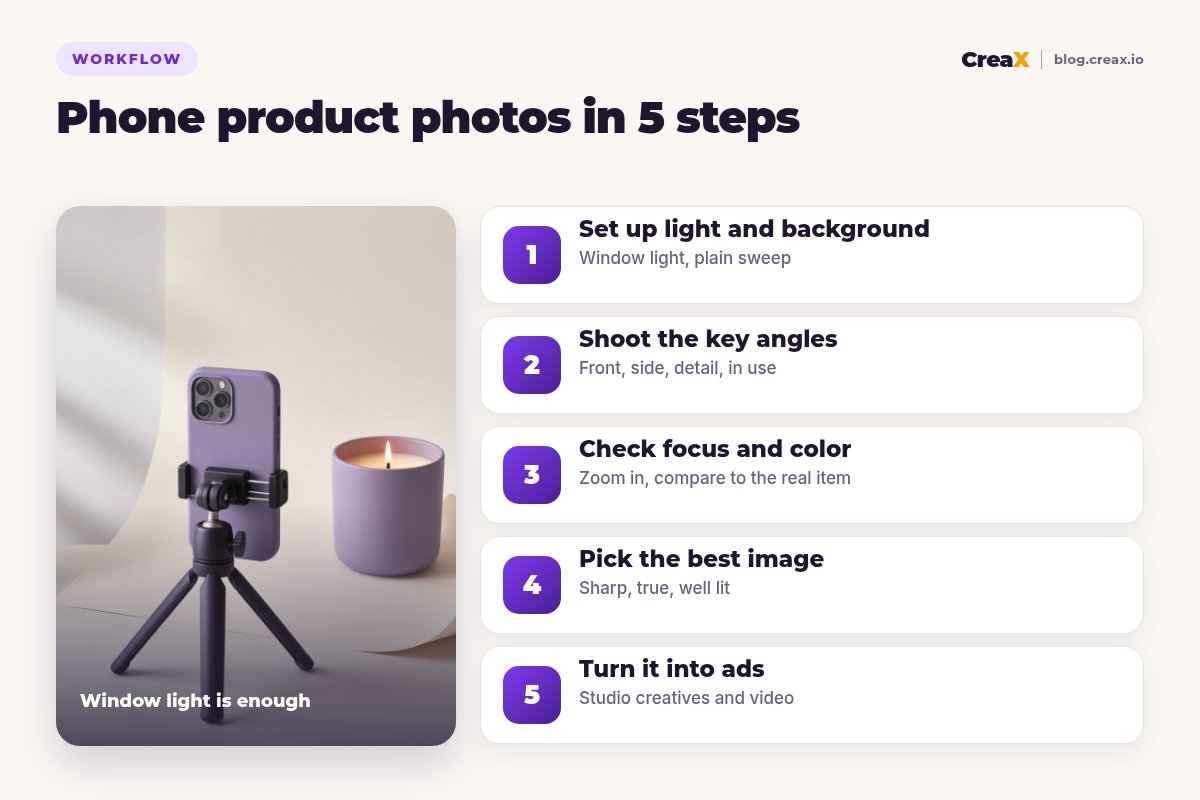
Put a table next to a window so the light comes from the side. Tape a sheet of paper to the wall behind the table and let it curve down onto the table surface, so there is no visible edge behind the product (this is called a sweep). Place the product in the middle of the sweep, slightly away from the wall so its shadow falls softly.
- Use soft light. Direct sun makes hard shadows and bright spots. If the sun is shining in, hang a thin white curtain or a sheet of baking paper over the window.
- Turn off the room lights. Mixing warm bulbs with daylight gives odd color casts.
- Add a reflector. Stand a white card on the side opposite the window to soften the shadows.
- Turn off the flash. Built-in flash makes products look flat and shiny.
Step 2Step 2: Shoot the key angles
Put the phone on the tripod or books, at the height of the product rather than looking down on it, unless you are shooting flat items from above. Use the main 1x lens: digital zoom loses detail, so move the phone closer instead. Turn on the grid in your camera settings to keep lines straight.
Shoot the same set of angles for every product so your store looks consistent:
- Front: your hero shot, product centered with space around it.
- Side and back: so buyers know what they are getting.
- Detail: texture, stitching, a label, a clasp or a button, close but still sharp.
- Scale: next to a hand or a common object, so buyers understand the size.
- In use: the product doing its job, on a table, in a kitchen, in a bag.
Tap the screen on the product to focus. Most phone cameras let you lock focus and exposure (often by pressing and holding) and nudge brightness up or down. Take several shots of each angle; it is easier to delete than to set up again.
Turn your best phone photo into a full ad kit
Upload one product photo and get studio ad creatives, UGC-style video and a landing page you can review before launch.
Step 3Step 3: Check focus and color
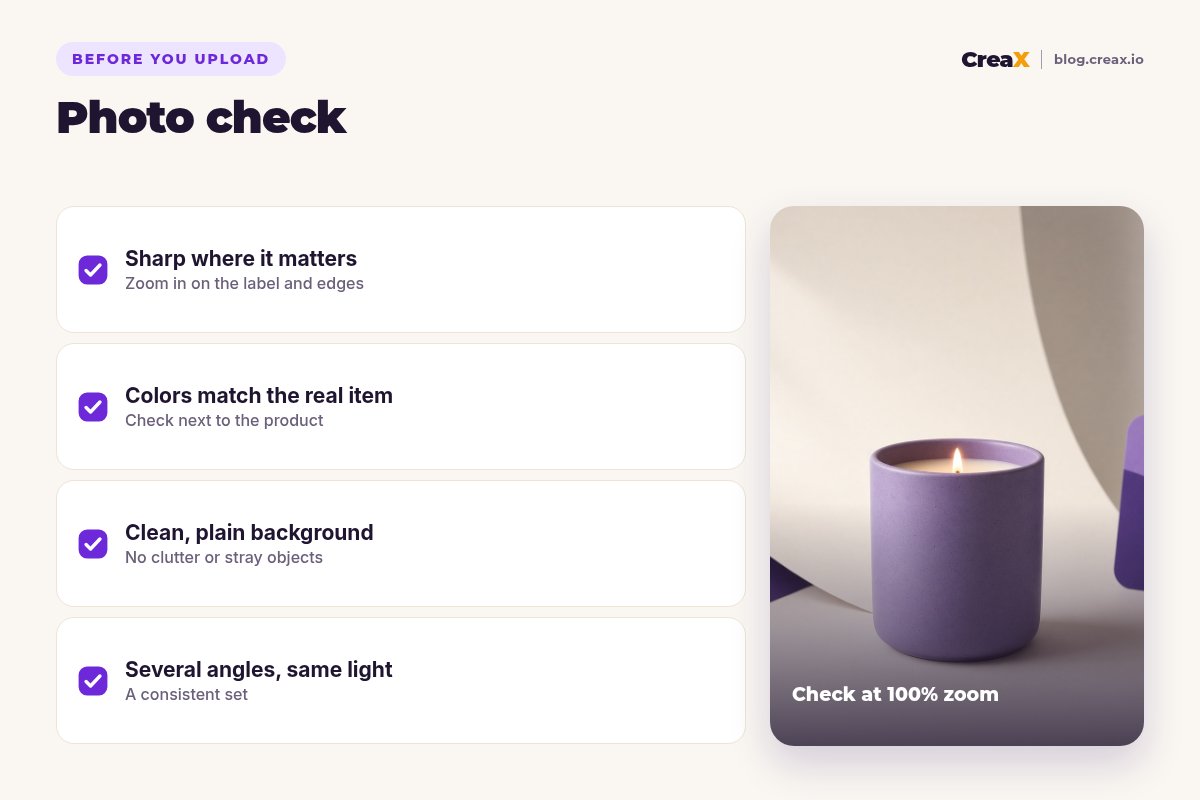
Before you pack up, look at the photos on a larger screen if you can. On a phone screen, almost everything looks sharp.
- Zoom in on the important parts: the label, the edges, the texture. If they are soft, reshoot with the phone steadier or closer.
- Compare color to the real product held next to the screen. Customers return items that look different from the photo.
- Check the background for dust, creases or stray objects.
Light edits are fine: straighten, crop, adjust brightness and white balance so whites look white. Don't change the product's color, shape or size; your photos must show what buyers will actually receive.
Step 4Step 4: Pick the best image
Choose one hero image: the sharpest, best-lit photo where the product is clearly visible and nothing distracts from it. Then pick one of each supporting angle. If two shots are close, pick the one where the product's main benefit is easiest to see.
That hero image does a lot of work. It is the first photo on your product page, and it is the best input for AI tools that create ad visuals. Our guide to studio ad creatives from a product photo shows what that input can become.
Step 5Step 5: Turn it into ads
A clean product photo is a good start, but ads need more: lifestyle scenes, different sizes for different placements, headlines and short videos. Making all of that by hand takes days. CreaX is an AI ecommerce creative OS that starts from exactly what you now have. Upload your product image (or paste a product link) and in about 60–120 seconds you get:
- Studio ad creatives: product photos and static ads in five styles (Classic, Humble Orbit, Punch, Luxe and Meta Feed) and four sizes (1:1, 3:4, 4:5 and 9:16). See ecommerce ad creative sizes for where each size runs.
- UGC-style video ads in 18, 30 or 45 seconds, without filming. Our guide to product demo video ads without filming goes deeper.
- A publish-ready landing page at Simple, Detailed or Advanced level, built around the same product.
Review everything before you launch. Make sure each generated image still shows your product accurately (same color, shape and details), and keep your real phone photos on the product page so buyers can see the actual item.
ExampleWorked example: a ceramic candle on a kitchen table
Say you make lavender ceramic candle jars and sell them online. Here is how one afternoon could go:
| Step | What you do | Result |
|---|---|---|
| Setup | Table by a north-facing window, cream paper sweep, white card reflector | Soft, even light with gentle shadows |
| Angles | Front, side, lid off, wax texture close-up, jar next to a hand, lit on a shelf | Six consistent photos |
| Check | Zoom in on the glaze, compare color to the real jar | Two reshoots for sharper detail |
| Pick | The front shot with the cleanest glaze highlight | One hero image |
| Ads | Upload the hero image to CreaX, keep the statics and video that fit | A kit for a gift angle and a self-care angle |
An illustrative workflow, not a performance claim.
From one photo you now have enough creatives to test two angles. When one wins, generate fresh variations of it; one product image into a week of ad tests shows how to pace that.
One photo in, a week of ad tests out
Upload your best product photo and get static ads, UGC-style video and a landing page in about 60–120 seconds.
MistakesMistakes to avoid
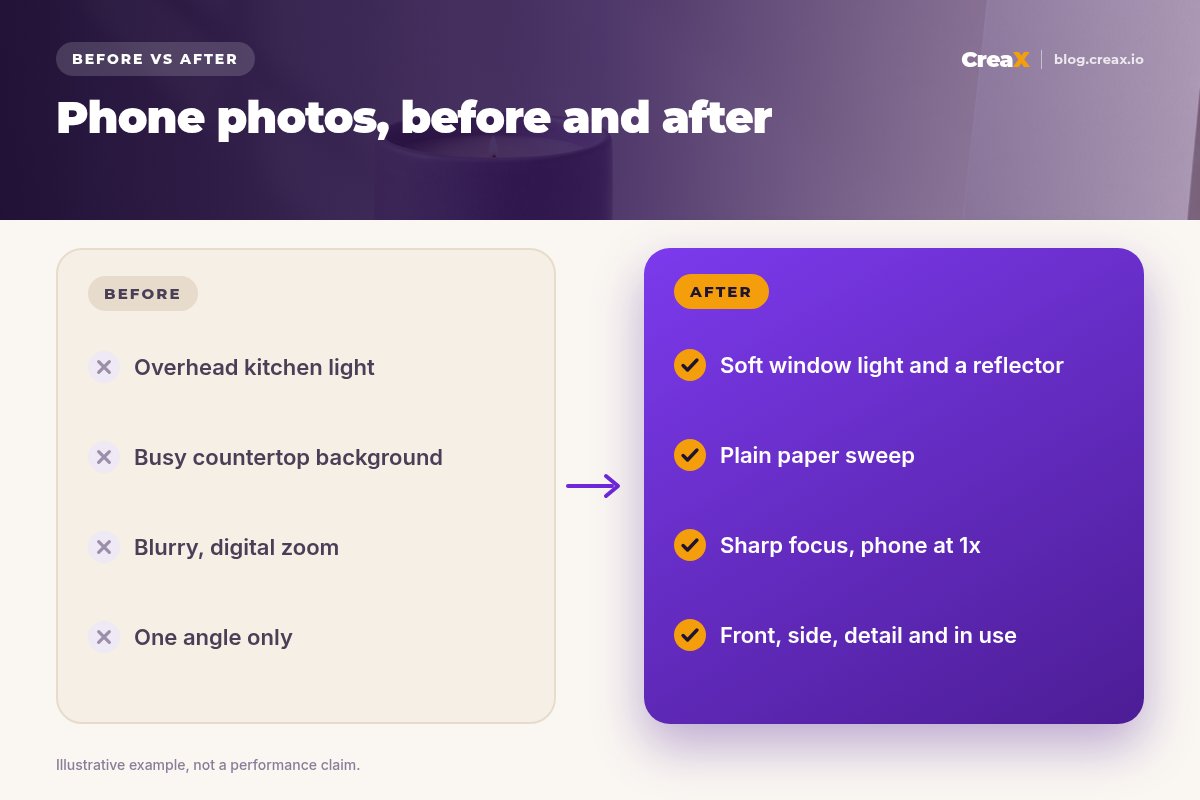
- Shooting under overhead lights: yellow color casts and harsh shadows.
- Using digital zoom: blurry, noisy detail. Move closer instead.
- Busy backgrounds: patterned tablecloths and clutter pull the eye away from the product.
- Shooting handheld in low light: soft photos you only notice later on a big screen.
- Over-editing: filters that change the product's color lead to disappointed buyers and returns.
- Only one angle: buyers need to see the sides, the details and the size.
!Keep it true to the product
ChecklistChecklist
Phone product photo checklist
- ✓Lens cleaned, flash off, room lights off.
- ✓Soft side light from a window, reflector on the other side.
- ✓Plain sweep background, no visible edge or clutter.
- ✓Phone on a tripod or books, main 1x lens, grid on.
- ✓Front, side, back, detail, scale and in-use shots taken.
- ✓Focus and color checked zoomed in on a larger screen.
- ✓Hero image chosen and ready to turn into ads.
Wondering how far AI images can go? Read can AI product photos replace a photoshoot?
FAQFrequently asked questions
Q.Is a phone good enough for product photos?
Q.Should I use portrait mode?
Q.What is the best time of day to shoot?
Q.Do I need a lightbox?
Q.Can I use my phone photo to make ads with AI?
Q.How many photos do I need per product?
Ready to turn your phone photos into ads?
Upload a product photo or paste a link and get ads, UGC-style video and a landing page in about 60–120 seconds.
This guide is published by CreaX. Camera settings vary by phone model; check your phone's own camera options. CreaX features are described from creax.io as of October 2026.