
How to Drive External Traffic to Amazon Listings
How-to · Amazon sellers
To drive external traffic to Amazon listings without wasting budget, you need three things: a way to measure which ads lead to sales on Amazon, a clear path from the ad to the listing, and ads good enough to earn the click. This guide walks through each step, from setting up Amazon Attribution to choosing between a direct link and a landing page, making the ads, and reading the results honestly.
Updated October 2026 · By the CreaX team
Key takeaways
- ✓Measure first. Amazon Attribution is Amazon's free tool for tracking how non-Amazon ads, emails and posts lead to detail page views, add-to-carts and purchases.
- ✓Pick the path: send clicks straight to the listing, or through a landing page you control that warms people up and can collect emails.
- ✓Give every ad its own tag so you can see which angle and channel actually sold, not just which got clicks.
- ✓Make ads per angle, not one ad per product. CreaX turns a product link (Amazon links included) into studio ads, UGC-style video ads and a landing page.
In this guide
The goalWhat you'll have at the end
By the end of this guide you will have a small, measurable external traffic test for one Amazon listing:
- Amazon Attribution set up, with the product added and a separate tag for each ad or link.
- A decision on whether clicks go straight to the listing or through a landing page first.
- Two or three ad angles, each with a static ad and a short video.
- A simple way to compare angles on attributed purchases, and a rule for what to do next.
External traffic means any shopper you bring to Amazon from somewhere else: Meta or TikTok ads, Google search, Pinterest, your email list, creators and affiliates, or your own social posts. Amazon's own sponsored ads are a separate thing and are measured inside Amazon Ads.
PrerequisitesWhat you need before you start
Have these ready
- ✓An active listing that is ready for traffic: good photos, a clear title, competitive price, stock and some reviews if possible.
- ✓Eligibility for Amazon Attribution: Amazon lists professional sellers enrolled in Brand Registry, vendors, KDP authors and agencies working for them, in the countries it supports.
- ✓An ad account on the channel you want to test (for example Meta, TikTok, Pinterest or Google).
- ✓A test budget you can afford to lose while you learn which angle works.
- ✓Product images or a product link to build the creatives from.
★Fix the listing before you buy traffic
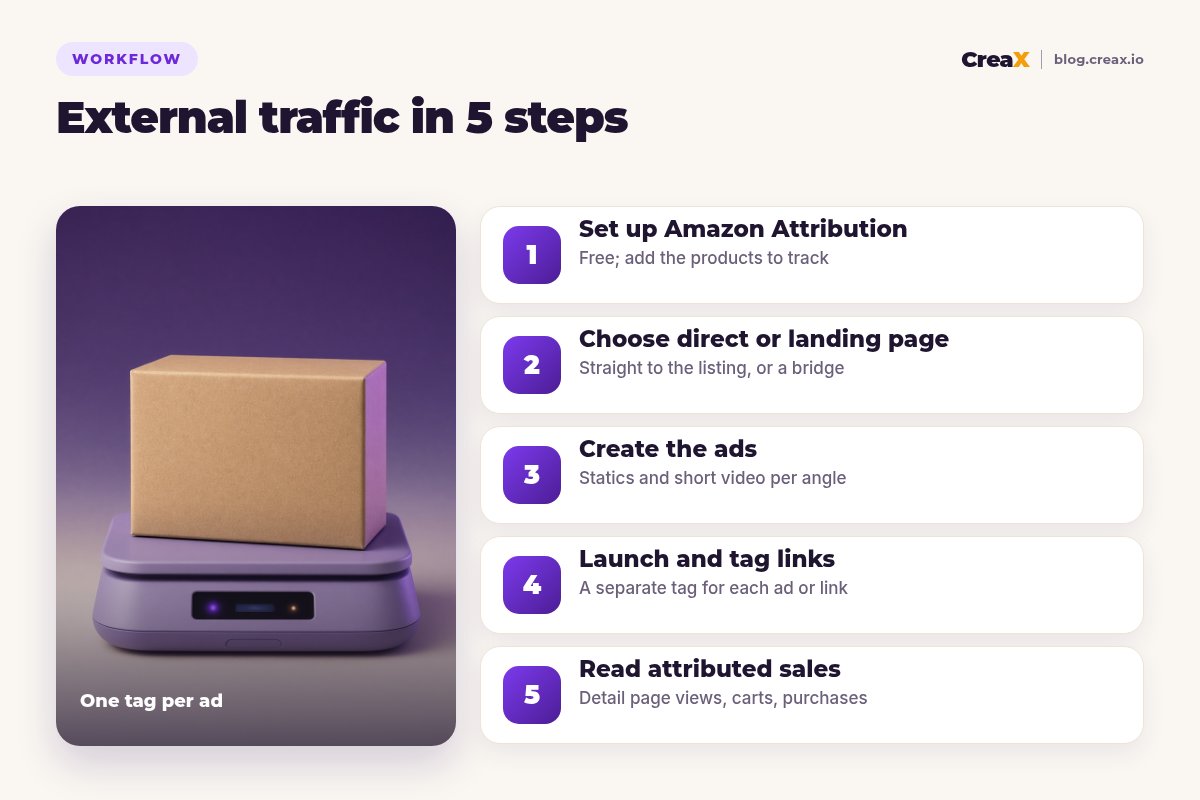
MeasureStep 1: Set up Amazon Attribution
Amazon describes Amazon Attribution as a free advertising and analytics measurement solution that shows the on-Amazon impact of your marketing on non-Amazon channels: search, social, display, video, email and affiliate or influencer campaigns. That is exactly what you need, because without it you only see total sales and cannot tell which ad drove them.
Register
Add your products
Create tags
Add users if needed
Amazon Attribution reports use a 14-day attribution window and include engagement metrics (clicks, detail page views, detail page view rate) and Amazon conversion metrics (add-to-cart, purchases, units sold, product sales and new-to-brand). That is enough to compare ads properly.
iBrand Referral Bonus (US brand owners)
The pathStep 2: Choose direct or landing page
You can send a click straight to your Amazon listing, or send it to a page you control first, which then links to Amazon with your tag. Both are valid. The right choice depends on your product and how cold the traffic is.
| Direct to listing | Landing page first | |
|---|---|---|
| Clicks to purchase | Fewest steps | One extra click |
| Warming up cold traffic | Listing does all the work | Room to explain, demo and answer objections |
| Email or lead capture | No | Yes, if you add a form |
| Your ad pixel and retargeting | Not on Amazon pages | Yes, on your own page |
| Measuring in Amazon Attribution | Tag on the ad link | Tag on the page's buy button |
| Best for | Simple, well-understood products | Products that need explaining, launches, giveaways |
General trade-offs, not a performance benchmark.
A landing page in between is sometimes called a bridge or pre-sell page. It works best when the product needs a demo or a story, when you want to build an email list, or when you want to retarget visitors later. Our guide to pre-sell pages without code shows the same idea for affiliates, and what an advertorial landing page is covers a longer format.
If you go direct, keep the ad honest about what shoppers will find: the same product, the same price range, the same claims as the listing.
CreativeStep 3: Create the ads
Do not make one ad and hope. Pick two or three angles (reasons someone would buy) and make a static ad and a short vertical video for each. For a kitchen scale, angles might be “bake by weight, not cups”, “track portions without guesswork” and “a slim scale that stores in a drawer”. Only use claims your product and listing can back up.
This is where CreaX saves the most time. Paste your product link (creax.io says it accepts links from Amazon, AliExpress, Etsy and other product pages) or upload a product image, and in about 60–120 seconds you get:
- Studio ad creatives: product photos and static ads in five ad styles (Classic, Humble Orbit, Punch, Luxe and Meta Feed) and four sizes (1:1, 3:4, 4:5 and 9:16).
- UGC-style video ads of 18, 30 or 45 seconds, vertical and social-first.
- A publish-ready landing page at Simple, Detailed or Advanced level, useful as the content for a bridge page.
Whatever page you send traffic to, its buy button must use your Amazon Attribution tag. Our guide to testing ad angles for a new product explains how to choose angles, and studio ad creatives from one product photo shows the static side.
Make your Amazon traffic ads from the listing link
Paste your product link into CreaX and get studio ads, UGC-style video ads and a landing page for each angle you want to test.
LaunchStep 4: Launch and tag links
Now connect the ads to the tags. The rule is simple: one tag per thing you want to compare.
- Create a tag per ad or angle in Amazon Attribution, named so you can read it later (for example: meta_scale_bake-by-weight_video).
- Paste the tagged link as the ad destination, or as the buy button on your landing page.
- Keep budgets equal across angles at the start so the comparison is fair.
- Tag non-ad links too: your bio link, email buttons and creator links each get their own tag.
- Launch and leave it alone long enough to collect real data before judging.
A consistent naming system makes the reports readable. Our guide to ad creative naming and tracking has a simple template you can reuse.
ResultsStep 5: Read attributed sales
Open the Amazon Attribution reports and look at each tag, not just the total. Read the funnel from top to bottom:
| Metric | What it tells you | If it is weak |
|---|---|---|
| Clicks | The ad earns attention | Test a new hook or visual |
| Detail page views | Clicks actually reach the listing | Check the link and the landing page button |
| Add-to-cart | The listing convinces people | Improve images, price, title or reviews |
| Purchases and sales | The whole path works | Compare angles; keep the best |
| New-to-brand | You are reaching new customers | Useful context for growth |
Metric names from Amazon Attribution's public page, October 2026.
Compare what you spent on each ad with the attributed sales from its tag. Remember that attribution is a model, not a perfect record: some buyers will click, leave and come back in ways the report may not capture. Use it to compare ads against each other, and keep your decision rule simple: move budget to the angles with the best attributed purchases, refresh the ones that only get clicks, and stop the rest.
Many sellers also hope external sales help their organic ranking on Amazon. Amazon does not publish how its ranking works, so treat that as a possible bonus, not the reason to run the test.
ExampleWorked example: a kitchen scale
Say you sell a slim digital kitchen scale on Amazon and want to test Meta ads. Here is how the plan could look:
| Item | Plan |
|---|---|
| Listing check | Main image clear, price in line, a few reviews, stock available |
| Angles | Bake by weight; portion tracking; slim and easy to store |
| Creatives | Per angle: one static (4:5) and one 18-second UGC-style video (9:16) from CreaX |
| Path | Angles 1 and 2 direct to the listing; angle 3 via a short landing page |
| Tags | One Amazon Attribution tag per ad, plus one for the landing page button |
| Decision | After the test window, keep the angle with the best attributed purchases |
An illustrative plan, not a result.
If the landing page angle gets fewer clicks but more purchases per click, that tells you the product benefits from explanation. If direct links win, keep it simple. Either way, you now know instead of guessing.
MistakesMistakes to avoid
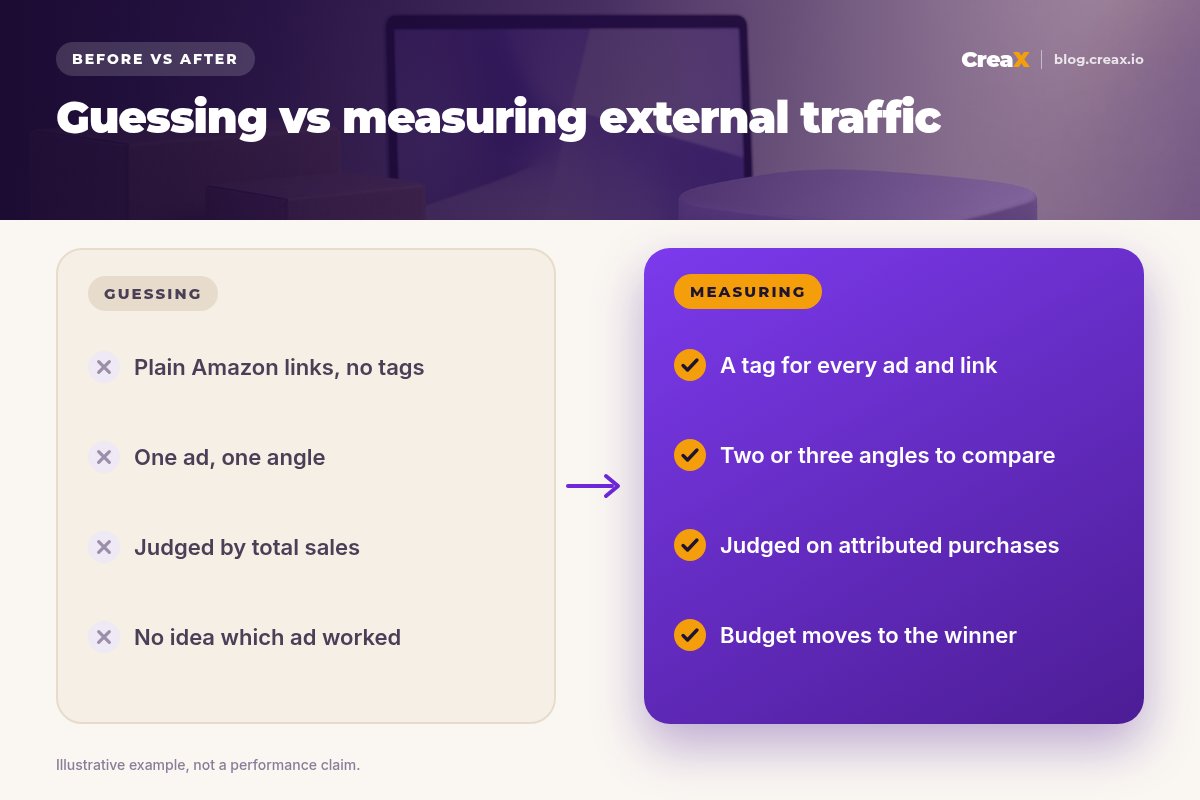
- Untagged links. Without a tag per ad, you cannot tell which one sold.
- Sending traffic to a weak listing. Fix images, price and stock first.
- Ads that promise more than the listing shows. Mismatched claims lose the sale and can break platform rules.
- Judging on clicks alone. Cheap clicks that never add to cart are not a win.
- Using Amazon’s brand to imply endorsement. Check Amazon's trademark guidelines before you put its name or logo in ads.
- Changing everything at once. Change one thing per round so you know what made the difference.
Copy thisChecklist
Before you launch
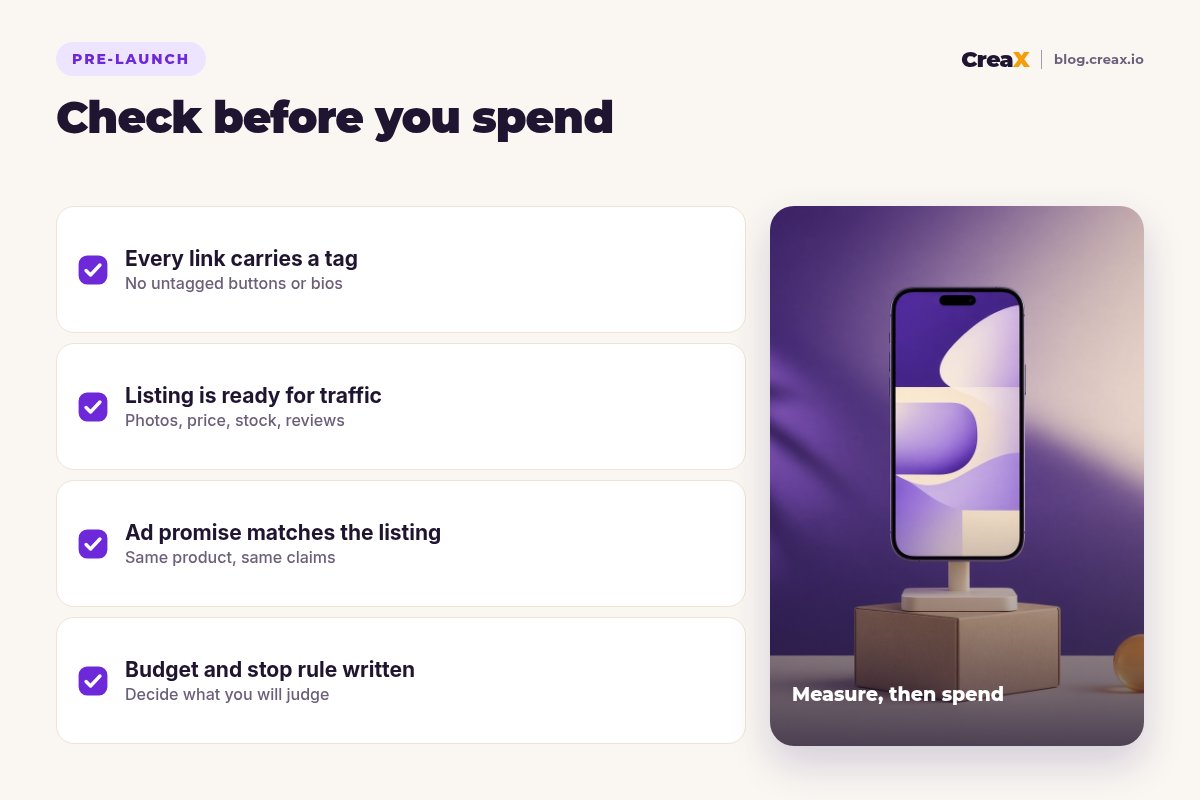
- ✓Amazon Attribution is set up and the product is added.
- ✓Every ad, button and bio link has its own tag.
- ✓The listing is ready: photos, price, stock, reviews.
- ✓You have two or three angles, each with a static and a video.
- ✓Each ad's promise matches what the listing shows.
- ✓Budgets are equal across angles at the start.
- ✓You wrote down how and when you will judge the test.
If you are not sure how many ads to start with, read how many ad creatives to test per product.
Build the ads for your next Amazon traffic test
One product link, about 60–120 seconds: studio ads, UGC-style video ads and a landing page, ready to tag and launch.
FAQFrequently asked questions
Q.Is Amazon Attribution free?
Q.Should I send ads straight to Amazon or to a landing page?
Q.Which channels work for external Amazon traffic?
Q.Can I use my Amazon listing link in CreaX?
Q.How long should I run the test?
Q.Does external traffic improve my Amazon ranking?
Ready to bring shoppers to your listing?
Paste a product link and get the ads and landing page for your first external traffic test.
This guide is published by CreaX. Amazon Attribution and Brand Referral Bonus details come from Amazon's public pages as of October 2026. Programs, eligibility and terms change, so check Amazon's current pages before you launch.